Create a custom object
Last updated 30 September 2026
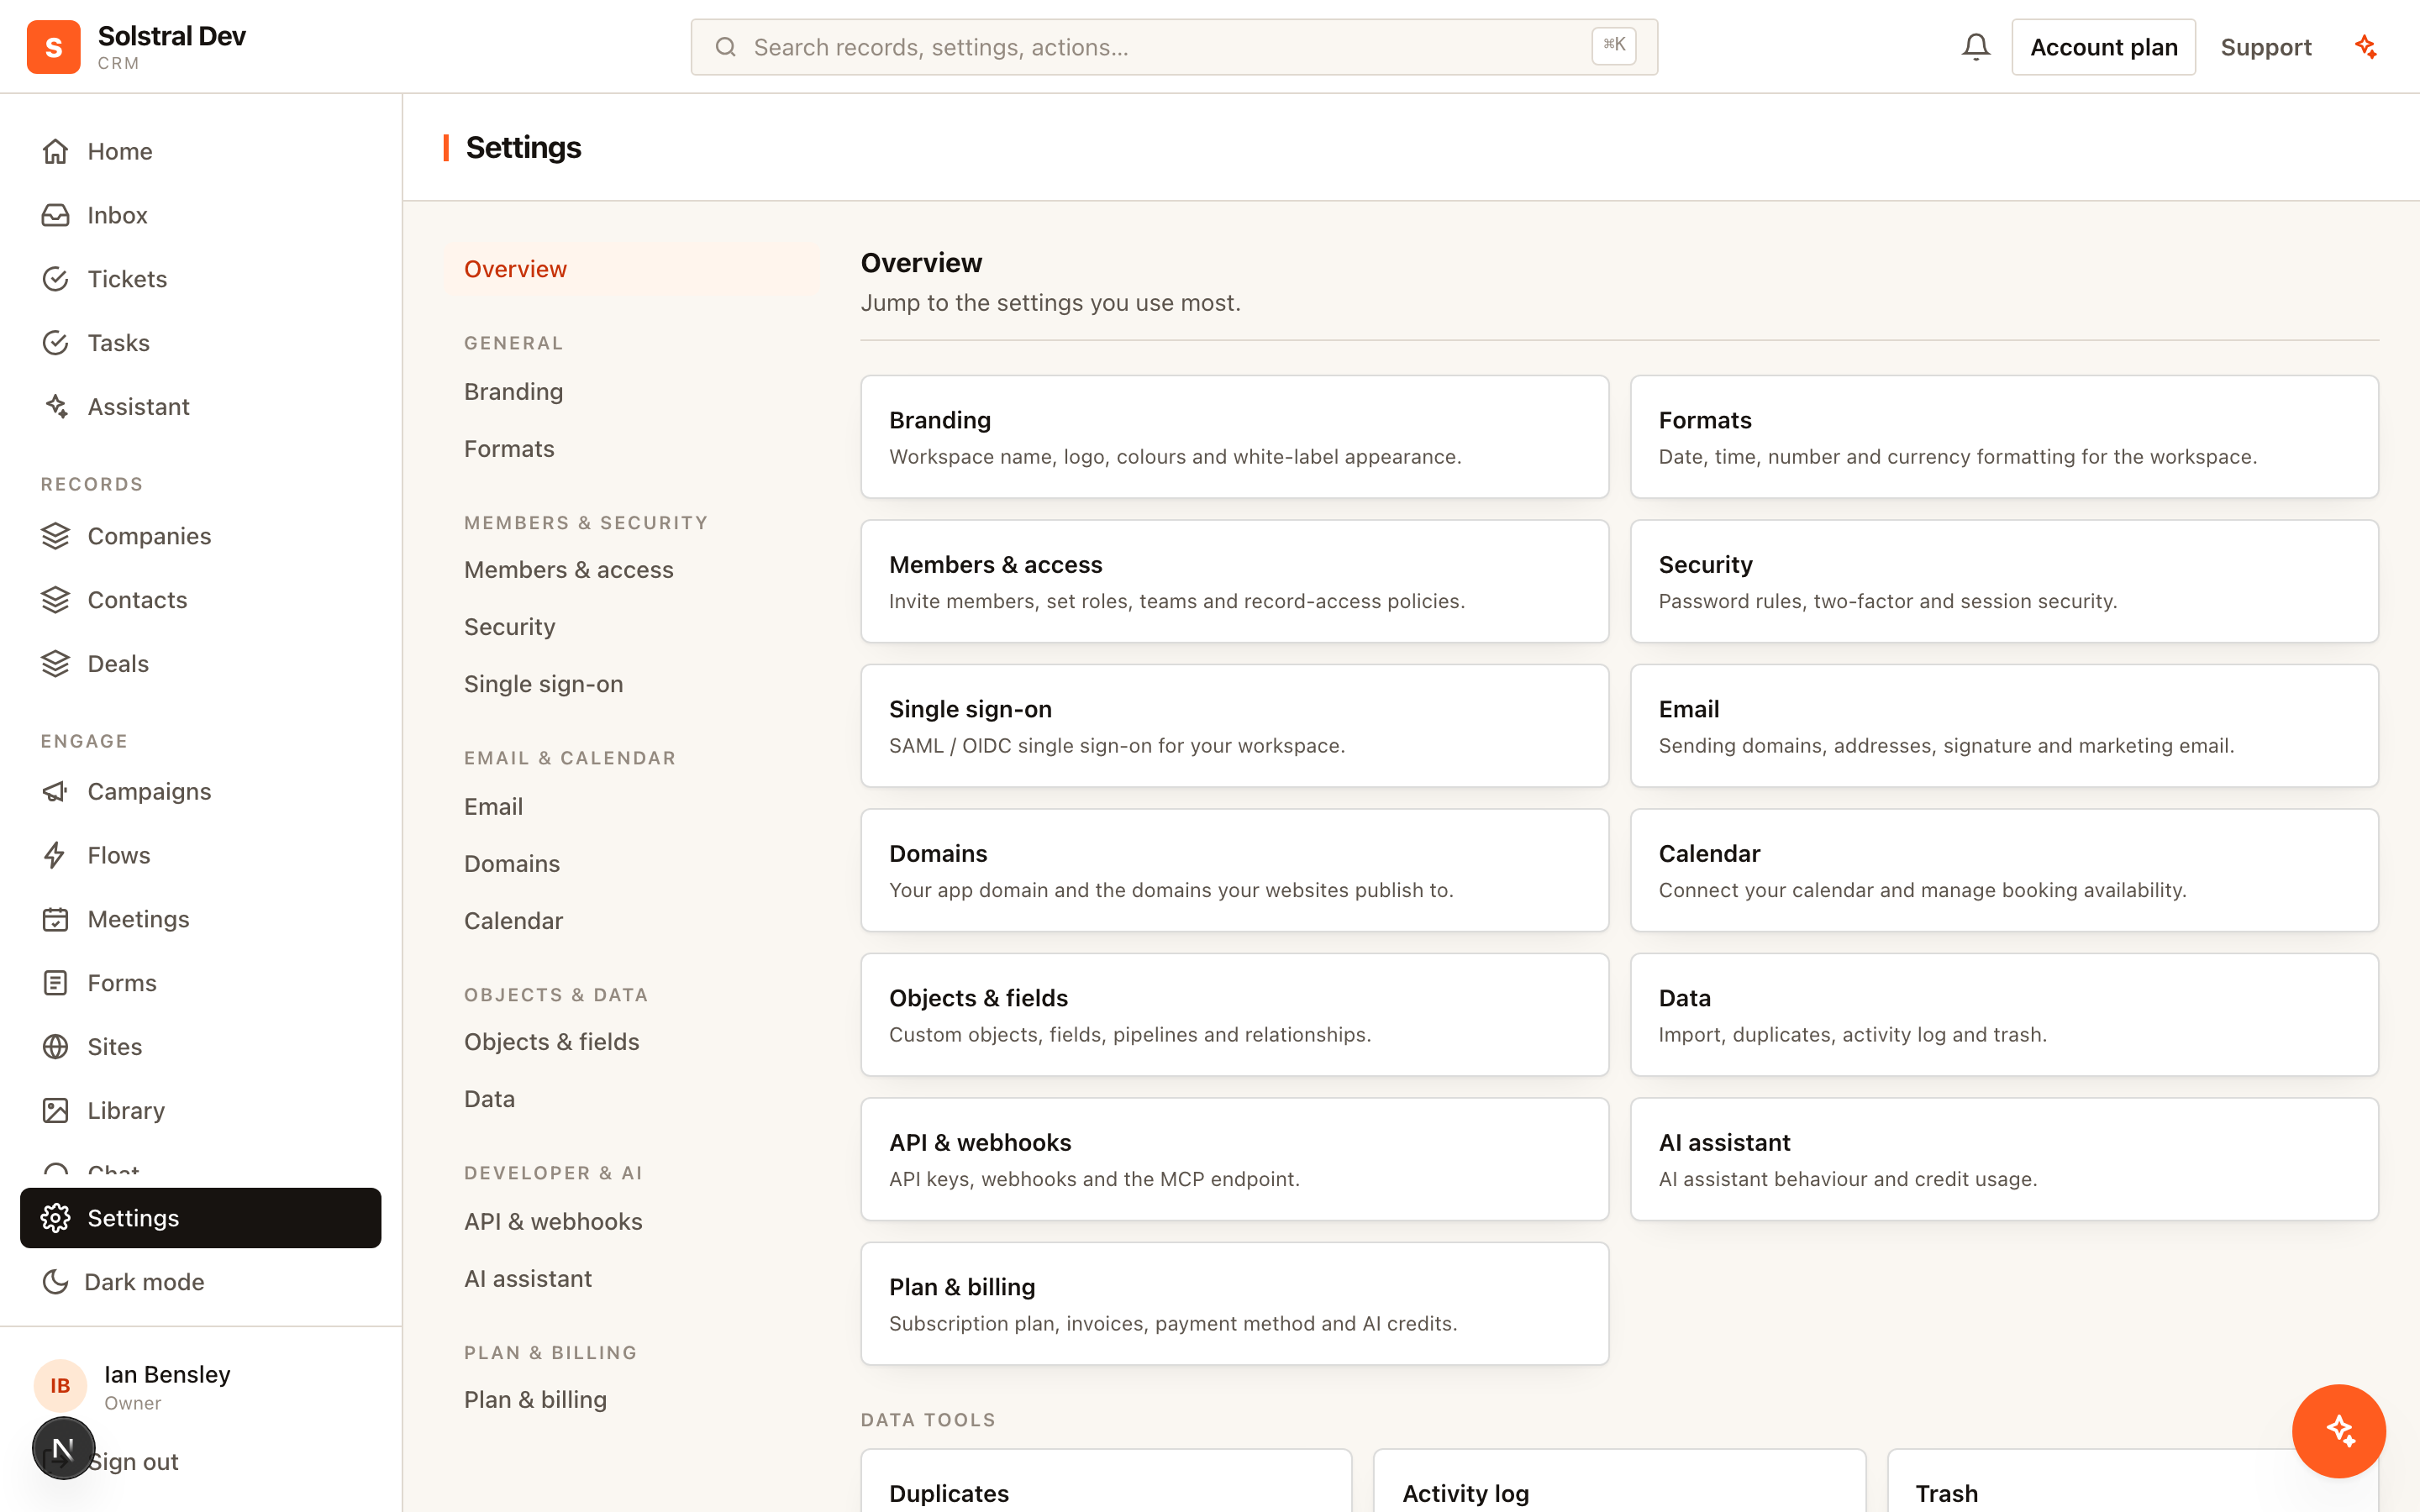
Companies, contacts and deals are not special. They are simply the three objects every workspace starts with, built on exactly the same machinery you use to create your own — so an object you define is a first-class citizen from the moment it exists.
1. Define the object
In Settings → Objects, create the object with a singular and a plural name — Property and Properties, Policy and Policies, Project and Projects. The plural names the list view; the singular labels individual records.
2. Add attributes
Add the fields the object needs. The available types are text, number, currency, date, checkbox, single and multi select, email, phone, URL, team member (a link to a user in your workspace), reference (a value looked up from a related record) and formula.
Mark fields required where a record genuinely makes no sense without them. Required rules are set per object, so a Property can demand an address without forcing that rule on anything else.
3. Relate it to other objects
Create relationships to connect your object to the rest of the CRM — a Property belongs to a Company, a Project has many Contacts. Relationships are what make the object part of your data model rather than an isolated list, and they are what reference fields follow to pull values across.
4. Optional: make it a pipeline
Any object can have a board. Add a select attribute, give its options stage names, and set each option's colour, whether it represents won or lost, and its probability. The object immediately gains a drag-and-drop board view grouped by that field, with weighted forecasting calculated from the amounts and probabilities.
This is why there is no separate "pipeline" feature to configure: a pipeline is a select field with stage options, so anything can have one and nothing is limited to a single pipeline.
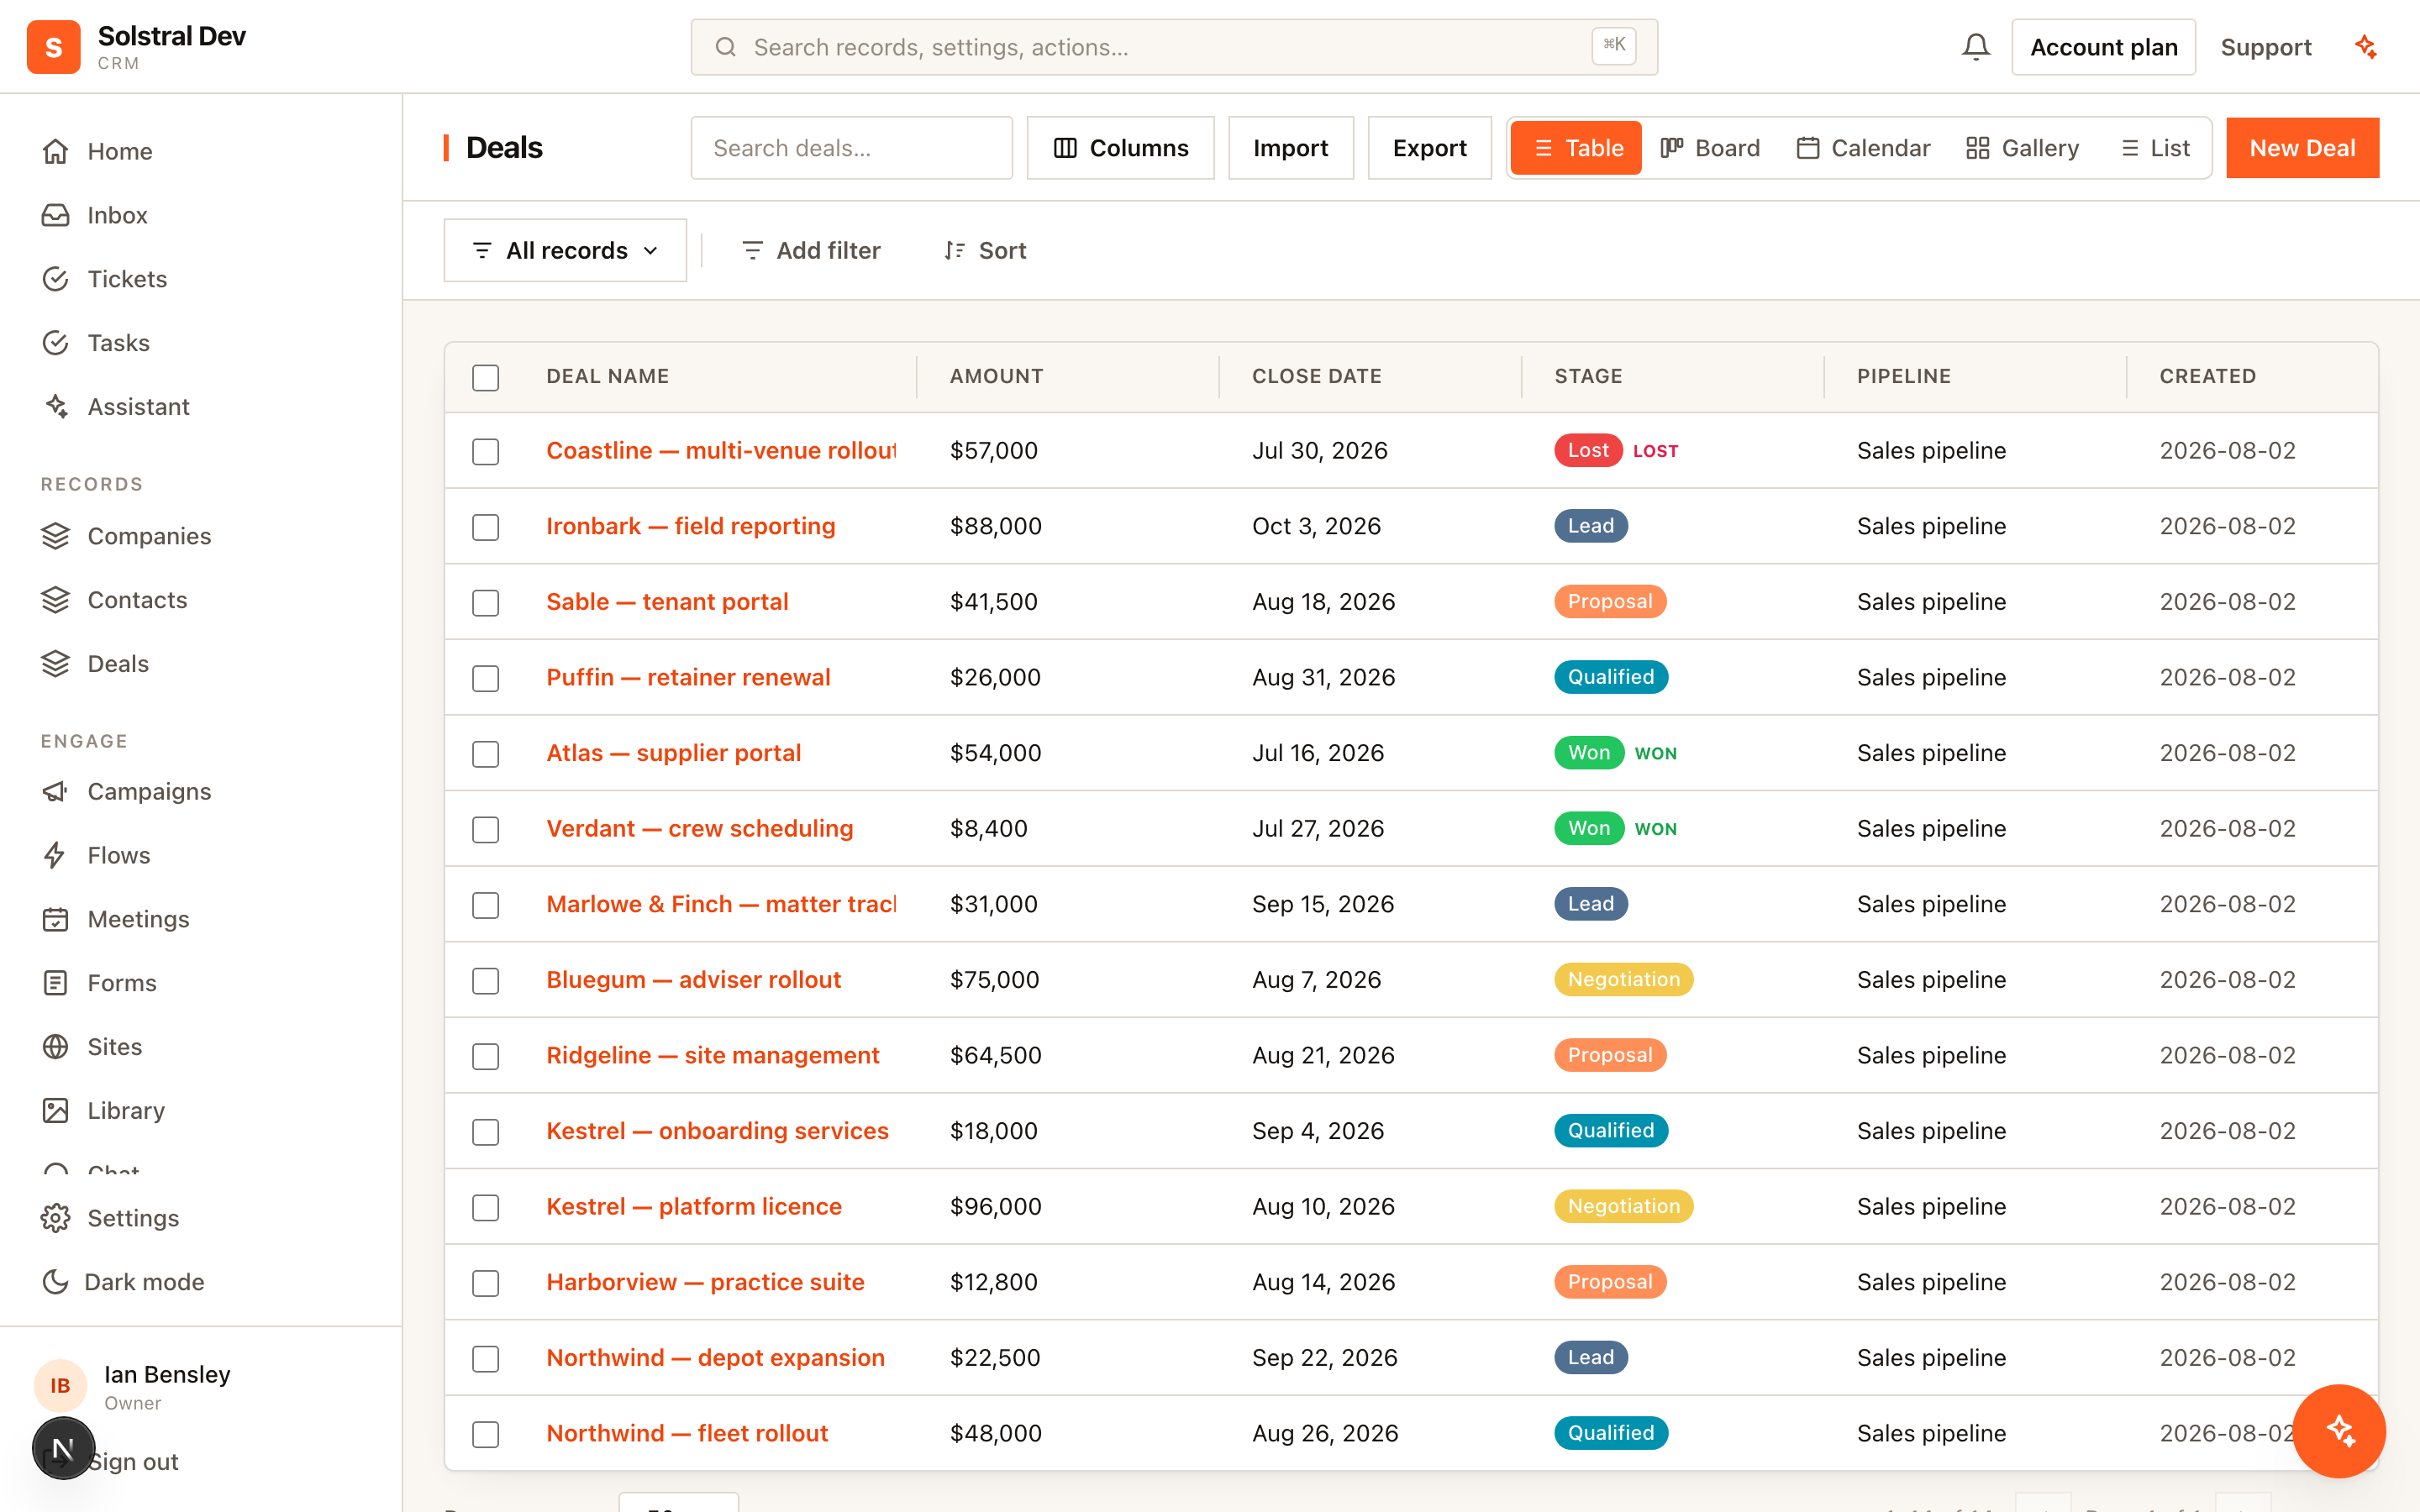
5. Arrange the sidebar
By the time you have a dozen record types, the order they were created in stops being a useful order. In Settings → Objects & fields, drag any record type by its handle to move it up or down, or under a different heading — the list parts as you drag so you can see where it will land.
New heading adds one — Sales, Delivery, Reference data — and you drag record types under it. Headings appear in the sidebar exactly as they do here, and dragging a heading by its own handle moves it and everything under it.
The first heading is called Records and holds anything you haven’t filed elsewhere. It works like any other heading — rename it to whatever suits you, drag it above or below the others, hide it — with one exception: it can’t be removed, because it is where record types live when they are under no heading of their own.
Two switches control what shows: In sidebar on a record type hides that one, and In sidebar on a heading hides everything under it at once. Hiding a heading leaves each record type’s own switch alone, so turning it back on restores exactly what was showing before rather than un-hiding the ones you hid deliberately. Hidden record types are still fully there — links, reports, imports and the API all keep working.
Removing a heading never removes what is under it; those record types move back under Records. Everything here saves as you do it.
6. Start using it
There is no further setup. The moment the object exists it supports list and board views, saved views and filters, CSV import, tags, duplicate detection and merge, the activity timeline, attachments, marketing lists and campaigns, automation triggers and actions, reports and the API.
7. Deleting a record type
In Settings → Objects & fields, Delete on a record type. Before it asks you anything, it counts what would go: the records, the entries on their timelines, the links to your other records, and the marketing list memberships — which carry the consent record for each person, and are the one part no export can rebuild. Then it asks you to type the record type’s name.
Two things stop it. If an active flow runs on that record type, or a marketing list sends to it, Solstral names them and refuses. A flow whose record type has gone stops firing with no error to notice, and a list is yours to delete deliberately rather than as a side effect of tidying up settings — so pause the flow or delete the list first, and come back.
Nothing is erased when you confirm. The record type disappears from your sidebar, the API, your reports and the assistant immediately, and moves to Waiting to be deleted on the same settings page. Restore there puts everything back exactly as it was — records, fields, relationships, links and consent history. After 30 days it is deleted permanently and cannot be recovered.
See your whole data model
Switch Settings → Objects from List to Data model for a map of every object and how they connect. Each card shows the object’s record count, its key fields (the record name, pipelines, marketing email and links to other objects) and badges for pipeline, email and timeline. Each line is a relationship, marked 1 or many at each end; a dashed line links many records to many.
Click a card to highlight what it connects to and see everything about it in the side panel: every field grouped by type, the stages of each pipeline, what each lookup and formula reads, and each relationship in a sentence. Objects that aren’t linked to anything are listed apart, so they are easy to spot.
The map is for looking, not editing: drag cards around to untangle it and Tidy up puts them back, but nothing you do there changes your data. Make changes from the List view.