Set up your workspace in 30 minutes
Last updated 1 August 2026
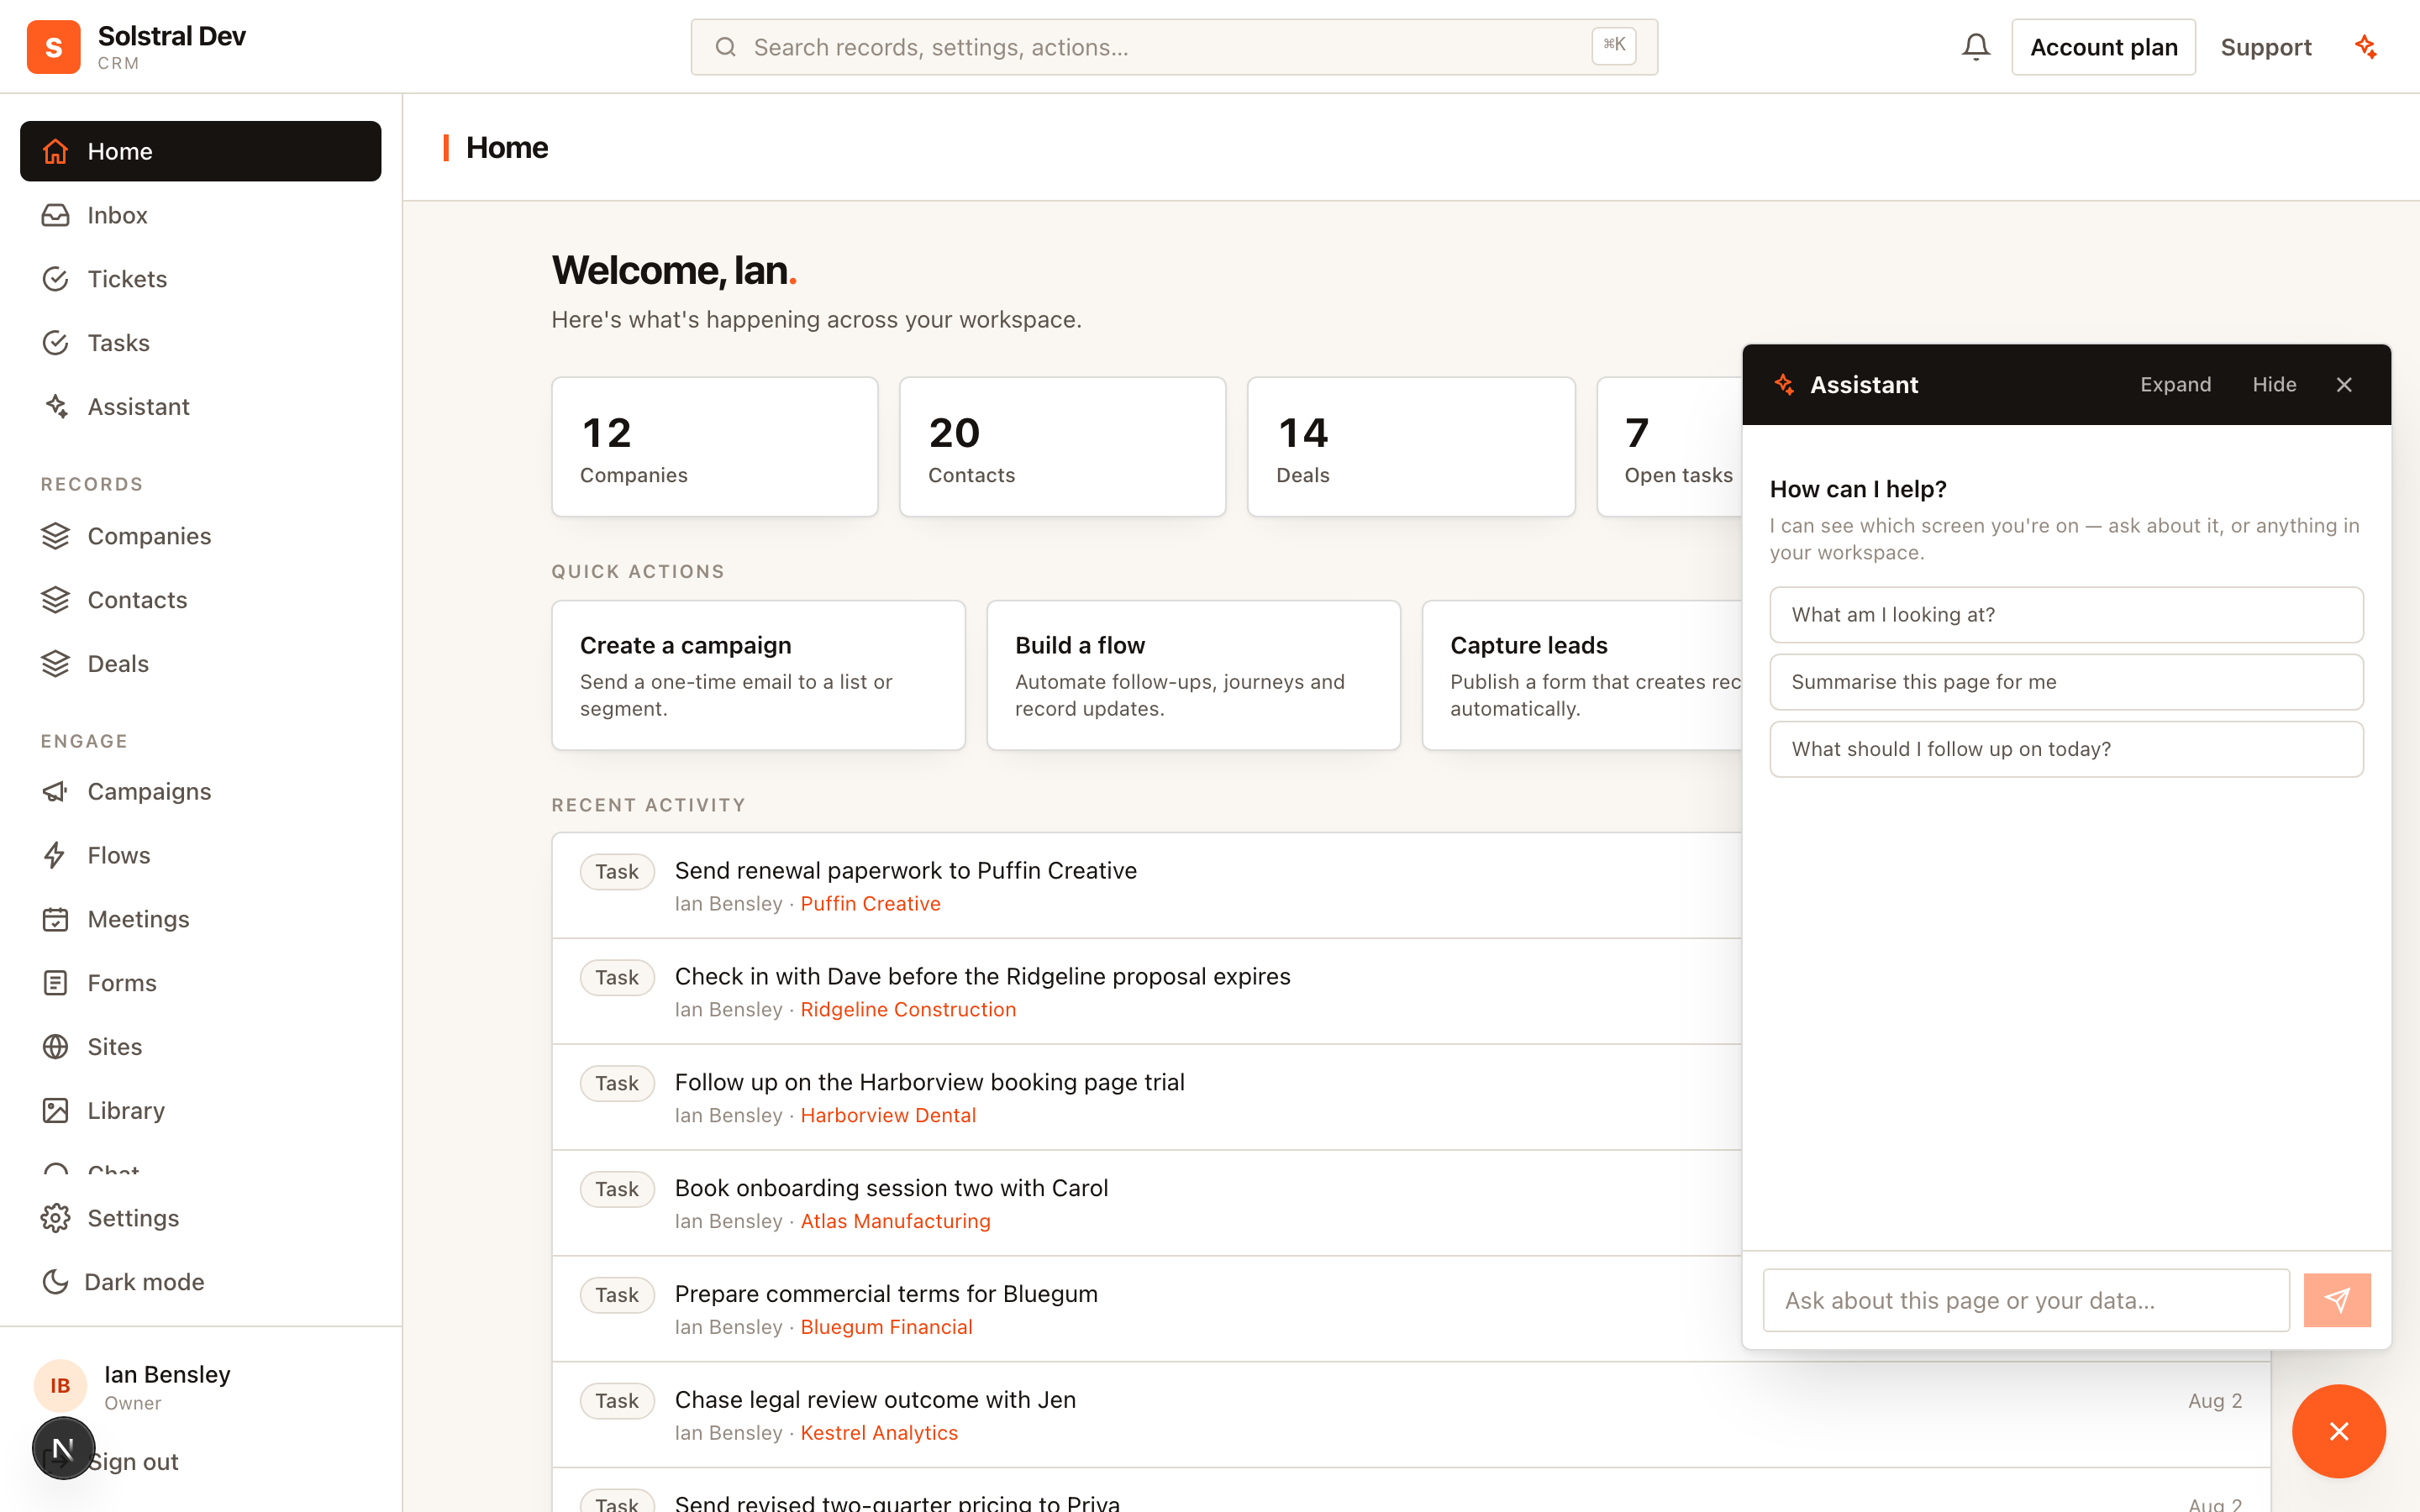
Welcome to Solstral. This guide walks the path we recommend for your first day, in the order that avoids rework. Each step takes a few minutes, and you can stop after step 4 and still have a working CRM — steps 5 and 6 are what you need before sending email.
1. Complete your profile
Open Settings → Profile and set your name, job title and avatar. This is not cosmetic: your name and title appear on every record you own, and they fill the {{user.name}} and {{user.title}} variables in email signatures. Setting them now means you never have to go back and fix signatures later.
2. Invite your team
Go to Settings → Members and invite teammates by email address, choosing a role for each: Admin (manages settings, members and email configuration), Member (works records day to day) or Viewer (read-only, and can never send email). Invitations are emailed with a link that lets the person set their own password.
If you are not sure, start people as Members — you can change a role at any time, and every change is recorded in the audit log. See Roles and permissions explained for the full matrix.
3. Import your data
Open any object's list view and choose Import CSV. Map each column in your file to a field, including any custom fields you have already created. Import companies before contacts so that contacts can be linked to their company during mapping rather than in a second pass.
After the import, open Duplicates to review anything that looks like a match and merge it. Full detail in Import contacts and companies from CSV.
4. Shape your pipeline
Open Deals and edit the stage list to match how your business actually sells. Rename stages, give each a colour, mark which ones mean won and lost, and give each stage a probability — that probability is what powers weighted forecasting, so it is worth a moment's thought rather than leaving the defaults.
5. Add your domain and turn on sending
Before any email leaves the platform, you need a verified domain. Add it under Settings → Domains — the one place domains are added — publish the DNS records it shows you, then switch on sending for it under Settings → Email. We recommend a subdomain such as mail.yourbrand.com. Step-by-step instructions are in Add a domain and turn on sending.
6. Automate one thing
Do not try to automate everything on day one. Pick the single follow-up your team forgets most often and build one flow for it — a welcome email to new leads is the usual choice. Build your first flow walks through exactly that.